| Contract | Address |
|---|---|
| SwapRouter | 0xec2b2209d710d4283b5d1e29441df0dbb9cee5c3 |
| NonFungiblePositionManager | 0x8804e26B04f52B0183ECE80b797d1c1079956E56 |
| UniswapV3Factory | 0xa9d53862d01190e78ddaf924a8f497b4f8bb5163 |
| Liquidity Locker | 0xbaF9841A79f038d99bB8bBF26Cc6ab9cAF552b24 |
| Contract | Address |
|---|---|
| SwapRouter | 0x365C8Bd36a27128A230B1CE8f7027d7a9e5A8f82 |
| NonFungiblePositionManager | 0x7EA8E1240762AC24A599Ab4eD86E39f989BC78A9 |
| UniswapV3Factory | 0xf509c3FbbBa099cD5D949C6621C218B3E52670F8 |
| Liquidity Locker | 0x8a7AE2D2b29b3737CA37b2f2a6406A0533015990 |
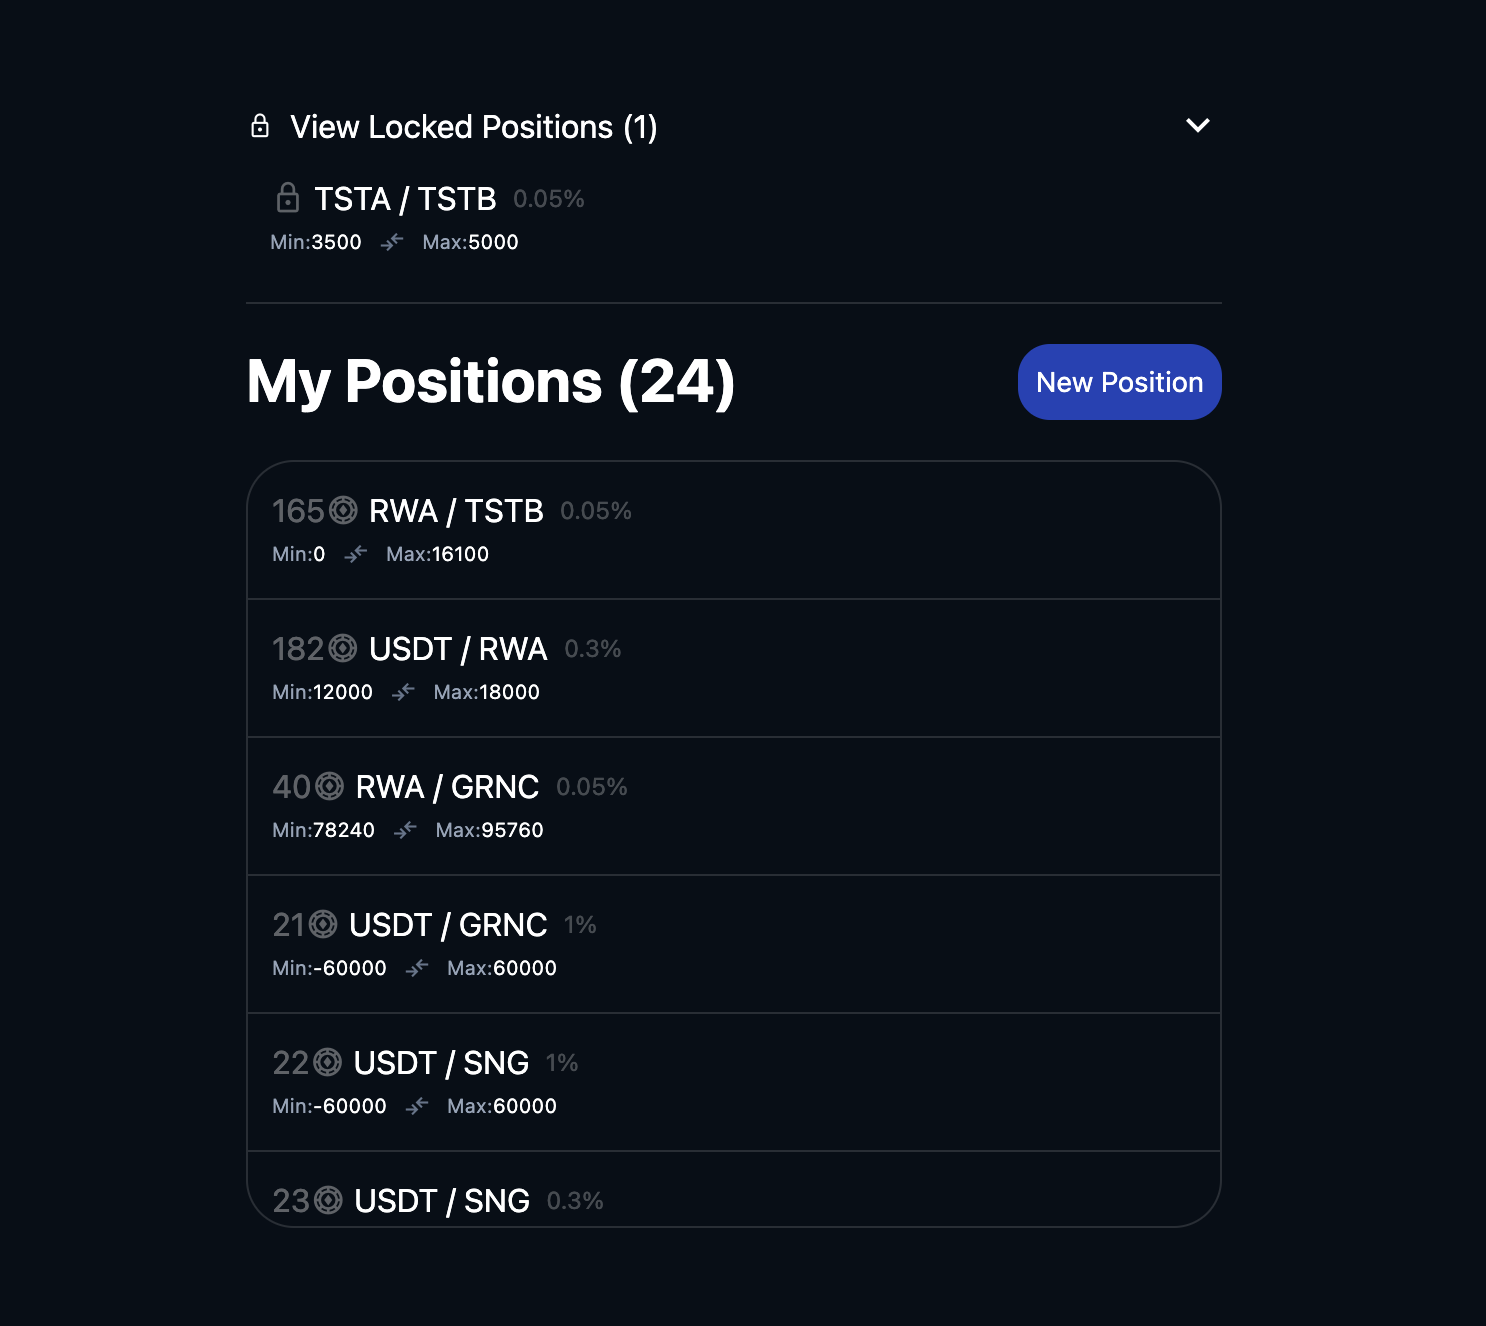
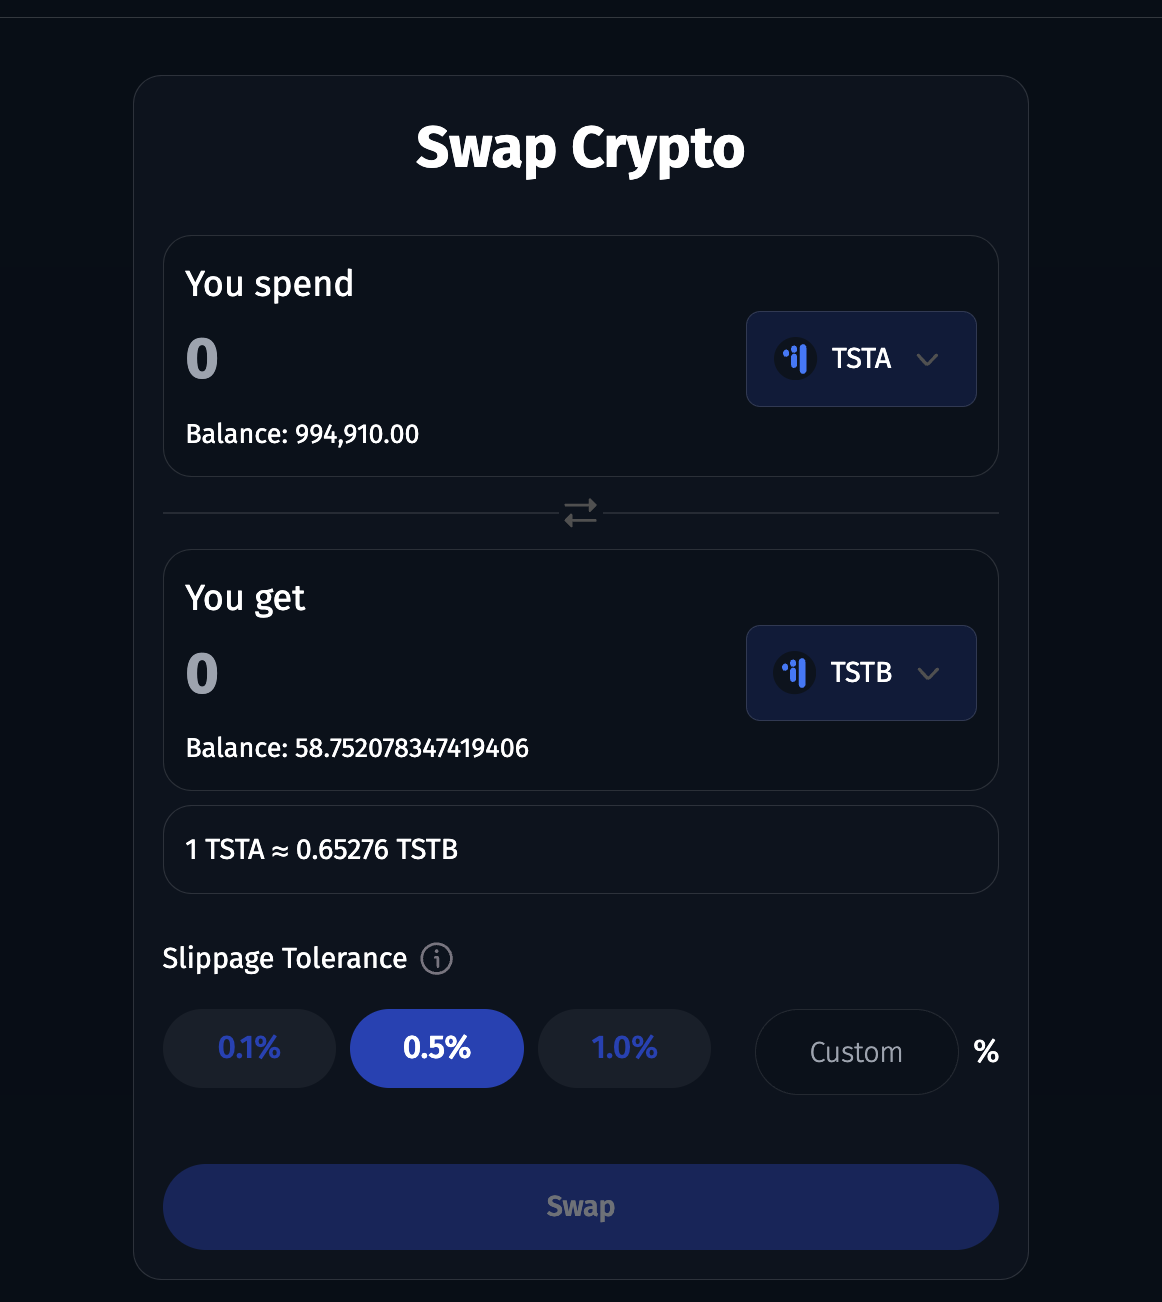
View Liquidity Positions
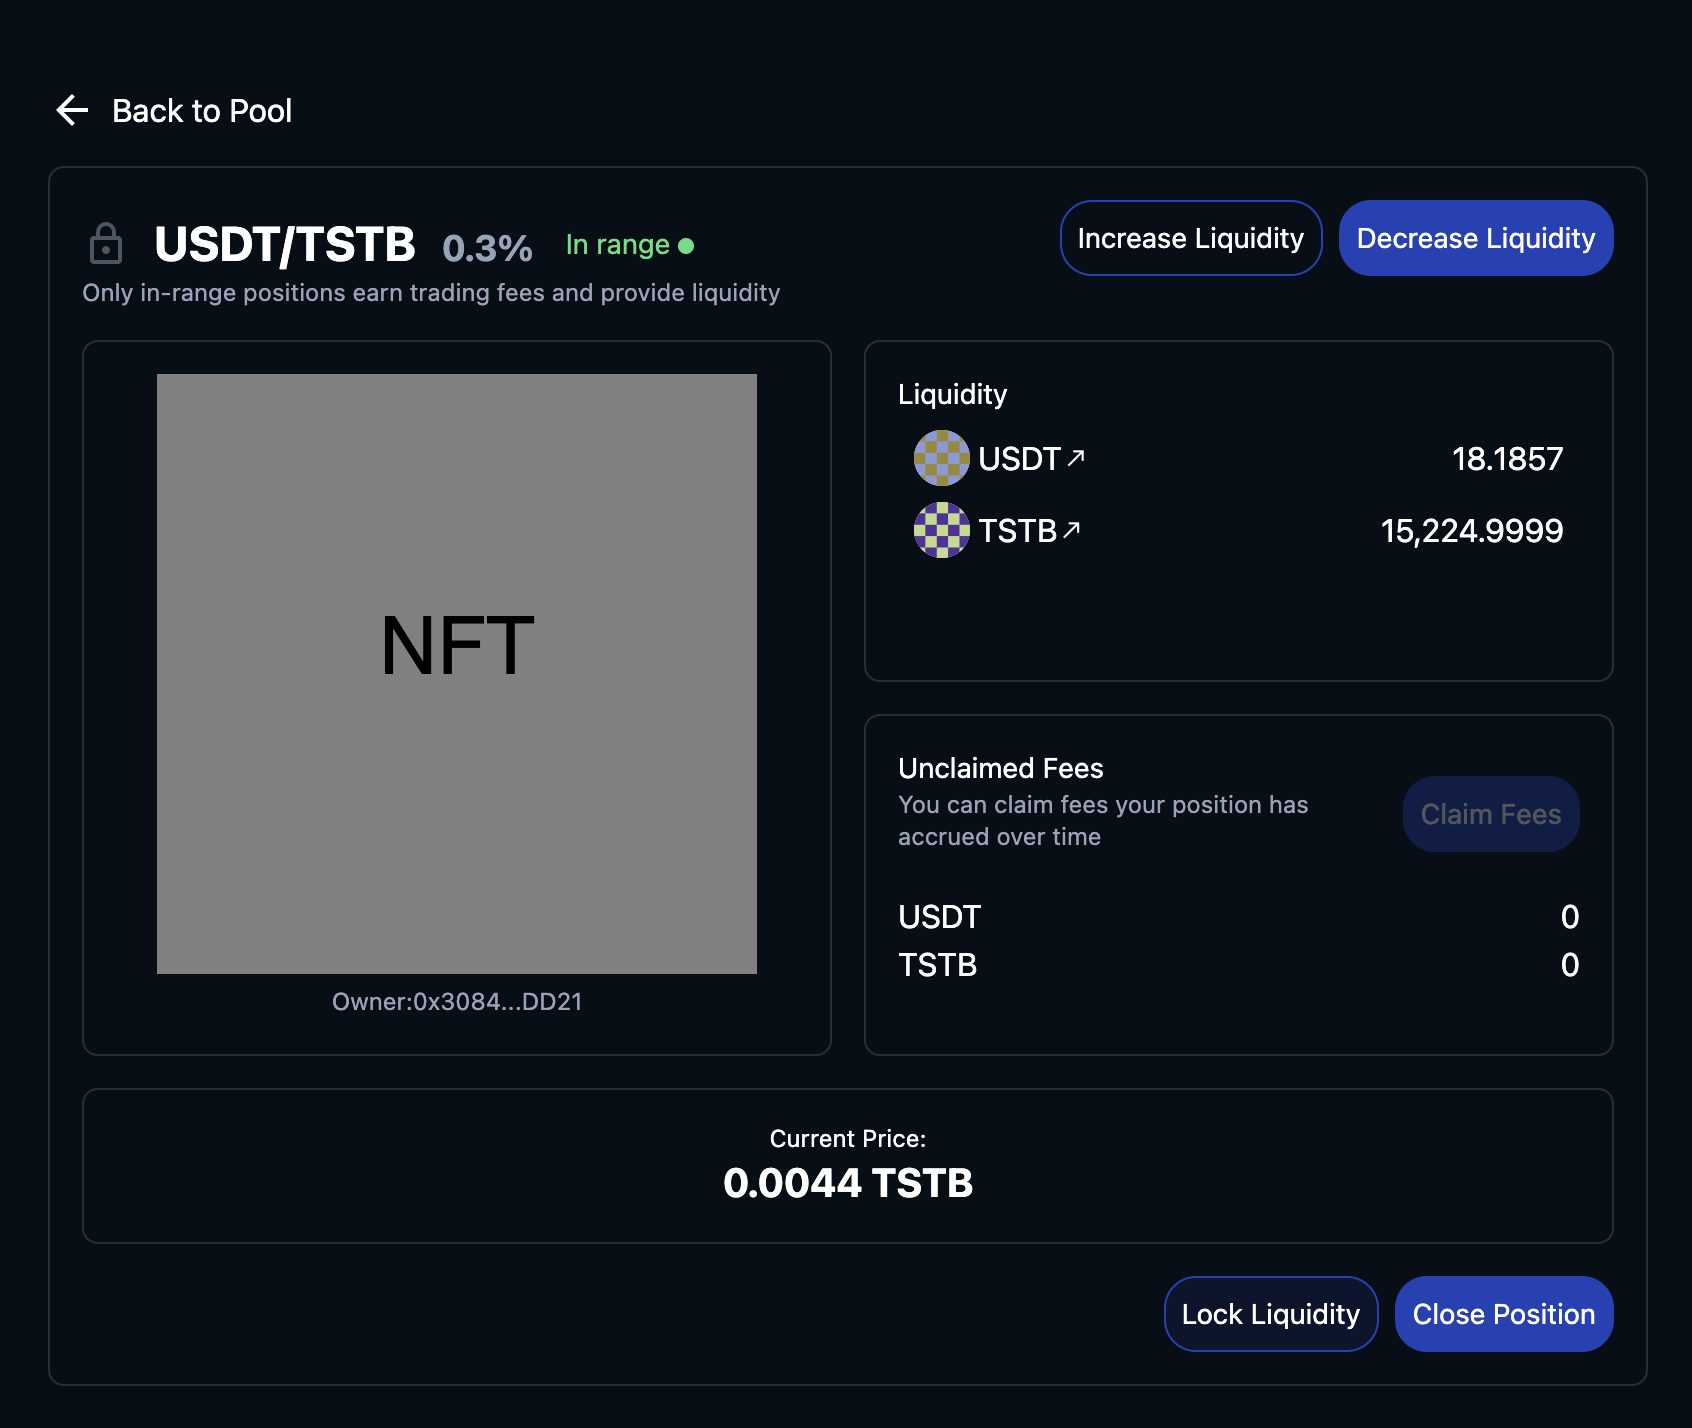
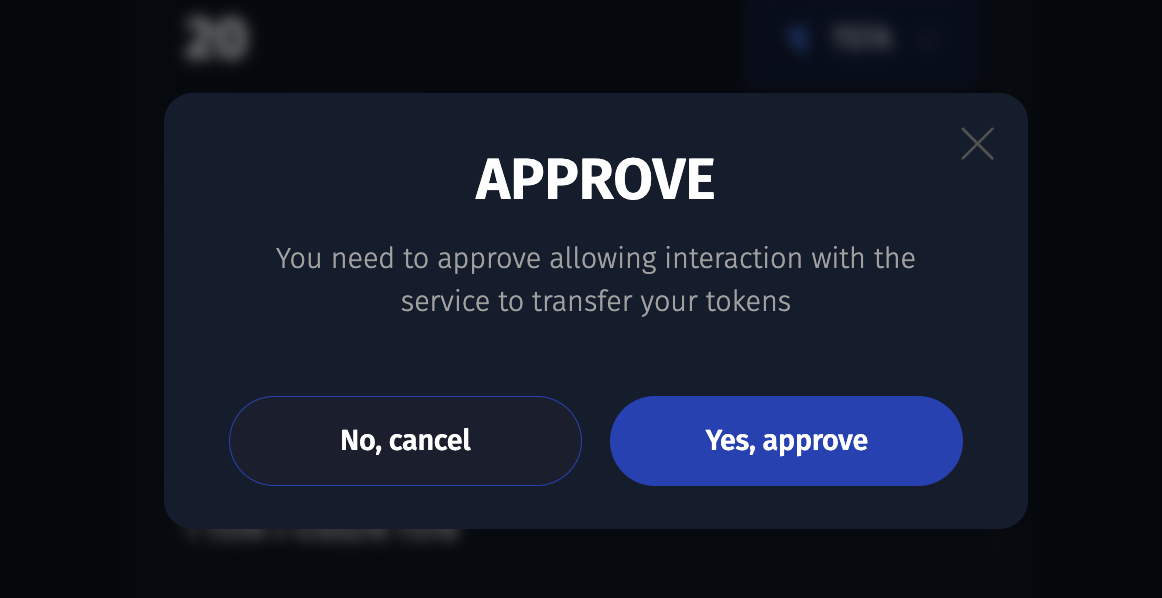
Lock Liquidity
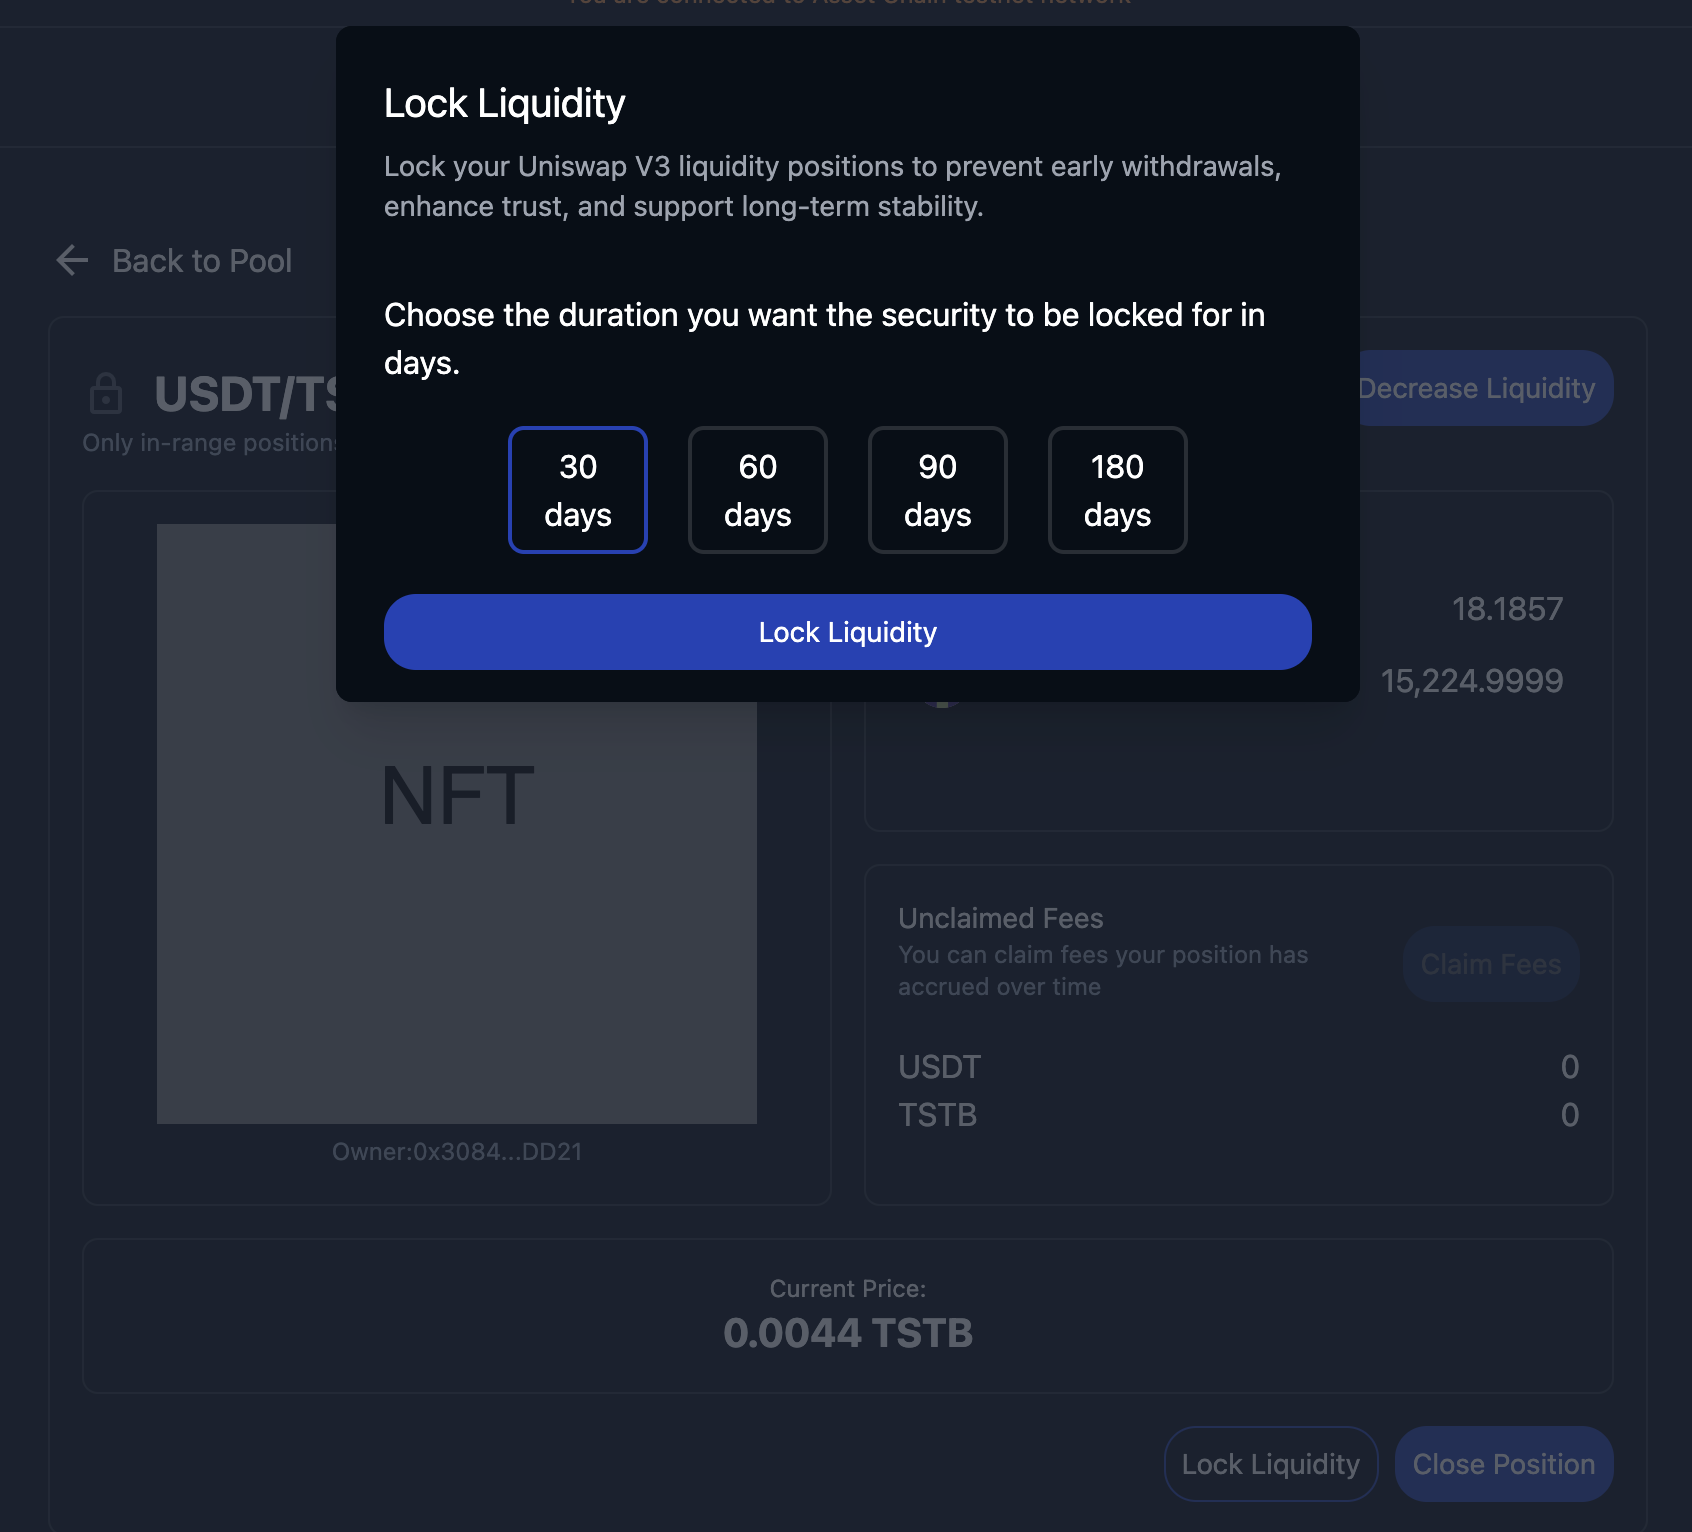
Choose lock period
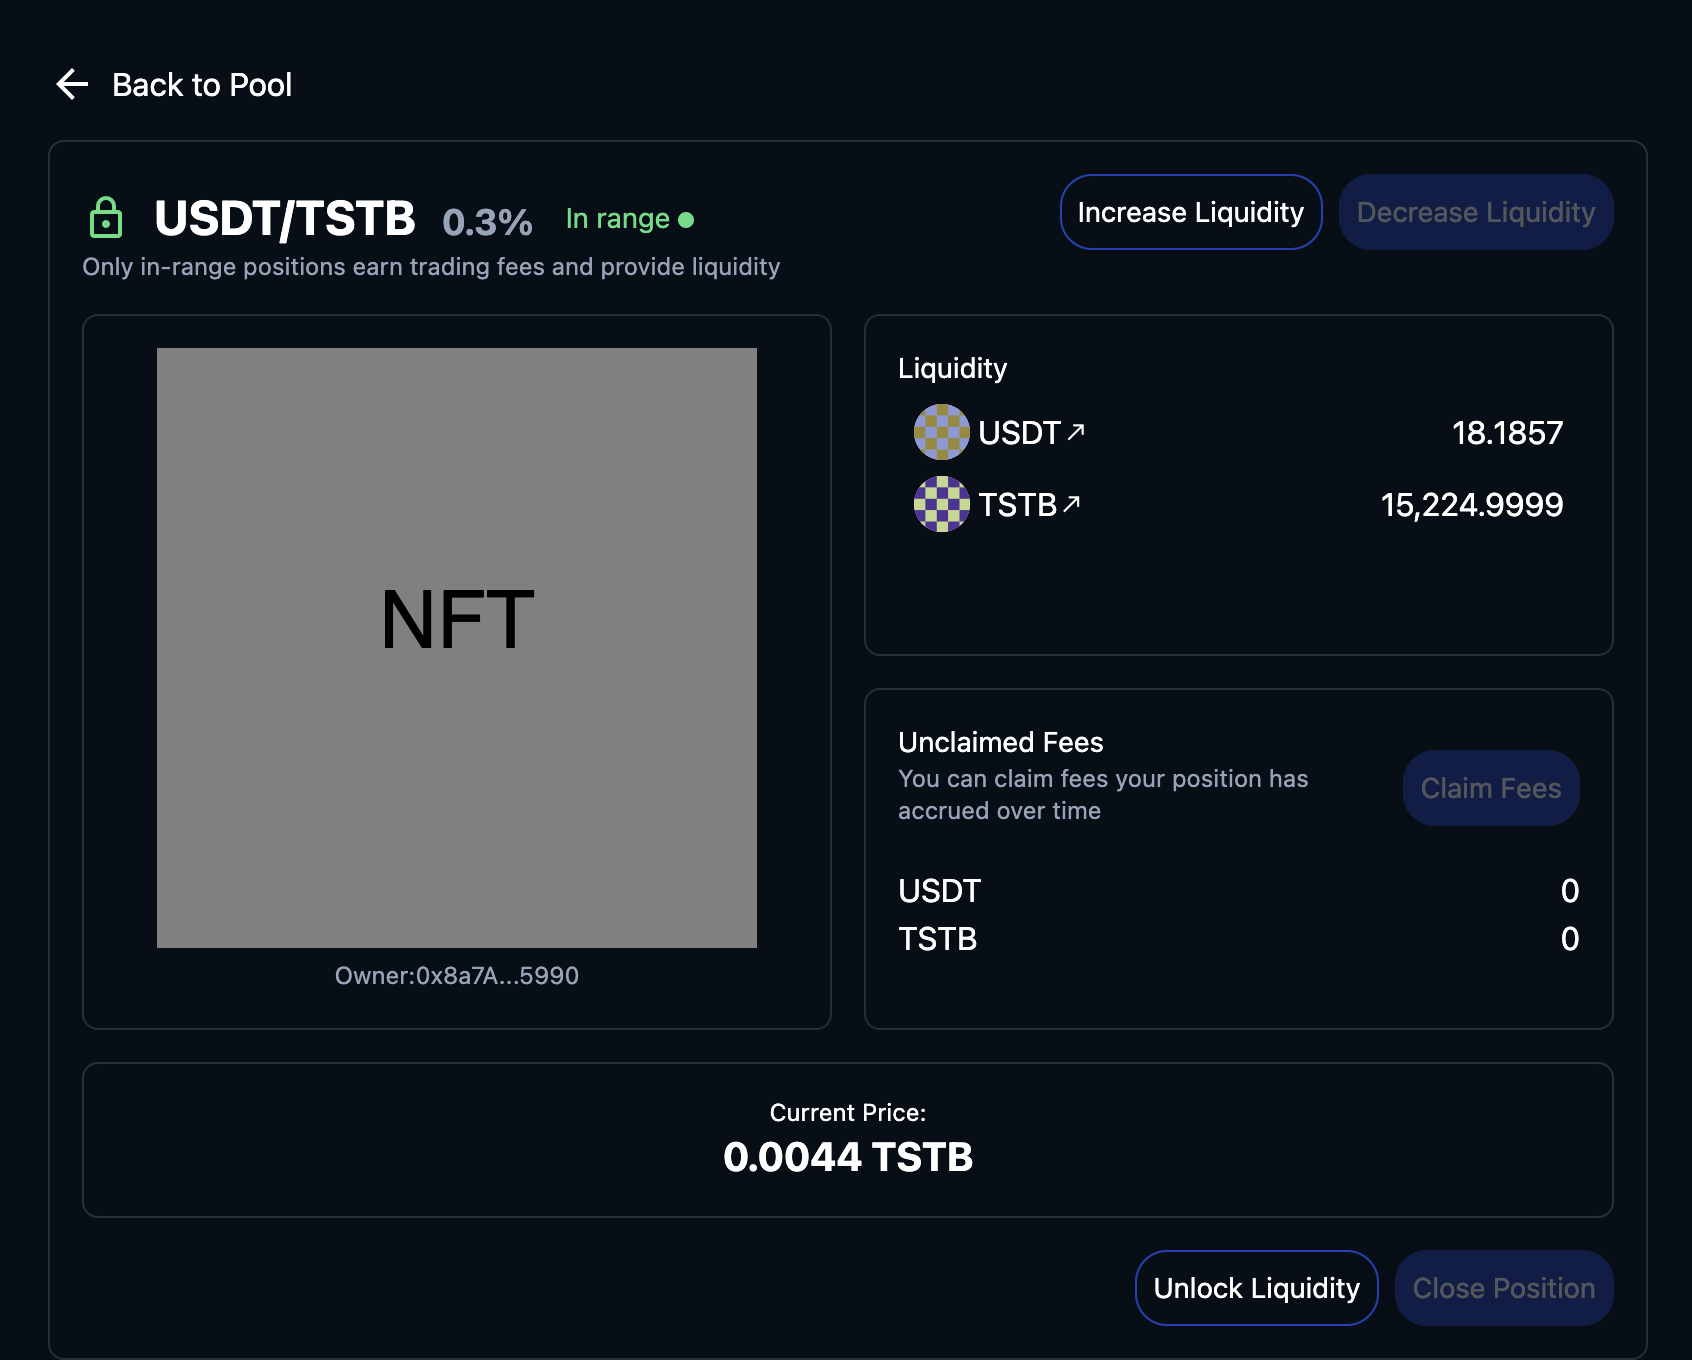
Locked position page